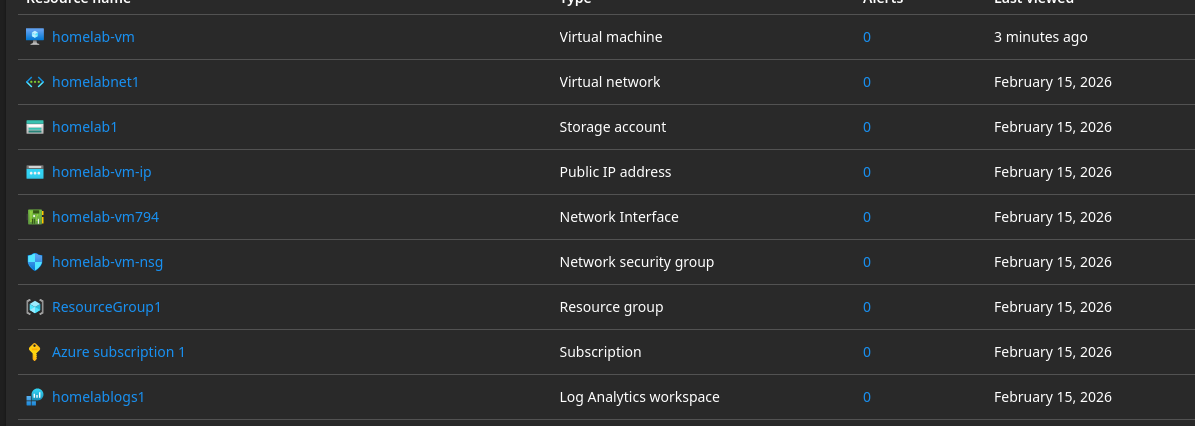
Microsoft Azure Homelab VM (Virtual Machine) Setup
What is a homelab? Why Azure?
A homelab is an educational & hobby learning environment for all software & hardware. It can be set up with no budget or a very large budget. This can be configured using virtualization (like VirtualBox) or a hardware-centric setup.
Azure has a $200 credit free trial available for new users of cloud services. This is ideal for the homelab because it is a risk-free learning environment that reduces the burden of using bare-metal hardware.
Register an Azure Account
You are going to want to set up a free trial for Microsoft Azure ($200 credit/month). You can use a throwaway Protonmail email for this; feel free to use all of your normal information when setting this up. Typically you will need to access the account using 2FA. You will login in order to view your dashboard.
Azure Storage Account
- Search for "Storage Account" → Click + Create → Azure storage account
- Basics tab configuration:
- Storage Account Name:
homelab1 - Region: East US
- Subscription: Azure Subscription 1
- Resource Group:
ResourceGroup1 - Performance: Standard (cost-effective)
- Redundancy: LRS (Locally Redundant Storage) for learning
- Enable secure transfer required ☑
- Enable blob public access: DISABLED (like making S3 private)
- Enable infrastructure encryption: Yes
- Minimum TLS version: 1.2
- Storage Account Name:
Virtual Network (VNet)
- Basics tab configuration:
- Virtual Network Name:
homelabnet1 - Address space: 10.0.0.0/16
- Subnet: 10.0.1.0/24
- Virtual Network Name:
Create Log Analytics Workspace
- Basics tab configuration:
- Name:
homelablogs1 - Region: East US
- Name:
Configure Blob Service Logging
- Diagnostic Setting configuration:
- Diagnostic Setting Name:
blob-storage-logs - ☑ StorageRead – tracks all read operations
- ☑ StorageWrite – tracks all write/upload operations
- ☑ StorageDelete – tracks all delete operations
- ☑ Transaction – performance metrics (optional but recommended)
- ☑ Send to Log Analytics workspace
- Select your workspace from the dropdown (the one you just created)
- Diagnostic Setting Name:
Log Query (KQL Mode)
Run the following query in your Log Analytics workspace:
StorageBlobLogs
| where TimeGenerated > ago(1h)
| project TimeGenerated, OperationName, StatusCode, Uri, CallerIpAddress
| order by TimeGenerated desc
Test Container Setup
- Add New Container:
- Name:
homelab-container
- Name:
Virtual Machine Setup
- Search for "Virtual machines" → Click + Create → Azure virtual machine
- Basics tab configuration:
- Virtual Machine Name:
homelab-vm - Region: Same as your storage account (e.g., East US)
- Availability options: No infrastructure redundancy required
- Security type: Standard
- Image: Ubuntu Server 24.04 LTS - x64 Gen2 (free tier eligible)
- Size: Click "See all sizes" → Search for DC4ds_v3 (4 vCPU, 32 GB RAM) → Click Select
- Virtual Machine Name:
- Administrator Account configuration:
- Authentication type: SSH public key (more secure than password)
- Username:
azureuser - SSH public key source: Generate new key pair
- SSH Key Type: Ed25519 SSH Format
- Key pair name:
homelab-vm_key
- Inbound Port rules:
- Public inbound ports: Allow selected ports
- Select inbound ports: SSH (22)
- Disks tab configuration:
- OS disk type: Standard SSD (LRS) – cheapest, sufficient for testing
- Delete with VM: ☑
- Leave everything else as default
- Networking tab configuration:
- Virtual network: Select your existing VNet (e.g.,
homelabnet1) - Subnet: Select your existing subnet (e.g.,
snet-eastus-1) - Public IP:
homelab-vm-ip - NIC network security group: Basic
- Public inbound ports: Allow selected ports
- Select inbound ports: SSH (22)
- Delete public IP when VM is deleted: YES — the public IP address is a separate resource and must be explicitly removed
- Delete NIC when VM is deleted: ☑
- Virtual network: Select your existing VNet (e.g.,
- Management tab (optional cost savings):
- Enable auto-shutdown: ☑ (to avoid charges if you forget)
- Set time: 7:00 PM (or whatever works for you)
- Time zone: EST UTC-05:00
- Notification: Optional
- Boot diagnostics: Enable with managed storage account
- Enable auto-shutdown: ☑ (to avoid charges if you forget)
- Click Review + Create. Review operating costs (should be ~$30–60/month, doable with a free trial).
- Click Create
- A popup will appear asking you to download the private key — click Download private key and create resource
- Save the
.pemfile somewhere safe (e.g., Downloads folder). You will need this to SSH into the VM. - Wait 3–5 minutes for the VM to deploy.
Connect to Your VM via SSH
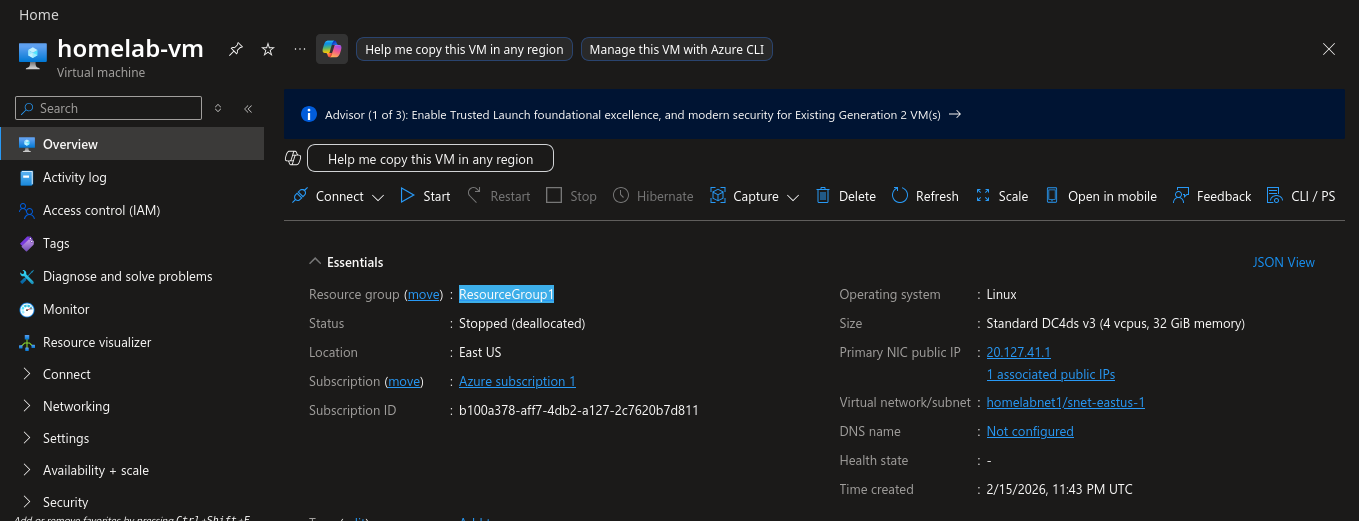
- Go to your VM in the portal: Virtual machines → homelab-vm
- Click Connect at the top → Select SSH tab
Upload your private key to Cloud Shell:
- Click the Cloud Shell icon (
>_) in the top menu bar - Click the Upload/Download files icon (looks like a document with an arrow)
- Click Upload
- Select the
.pemfile you downloaded — it uploads to your Cloud Shell home directory
Set proper permissions and connect:
# Set correct permissions on the key
chmod 400 homelab-vm_key.pem

# Get your VM's public IP (or copy it from the portal)
VM_IP="xx.xxx.xx.xx"

# SSH into the VM
ssh -i homelab-vm_key.pem azureuser@$VM_IP

# Confirm adding SSH key
yes

# Test the VM
whoami
On Windows (PowerShell):
ssh -i C:\Users\YourName\Downloads\homelab-vm_key.pem azureuser@<PUBLIC_IP>
First time connecting, you'll see: "The authenticity of host... can't be established." Type yes and press Enter. You should then see:
Welcome to Ubuntu 24.04.3 LTS (GNU/Linux 6.2.0-1018-azure x86_64)
...
azureuser@homelab-vm:~$
Initial System Setup
Update the system:
sudo apt update && sudo apt upgrade -y
Install essential tools:
sudo apt install -y \
  curl \
  wget \
  git \
  htop \
  net-tools \
  ufw \
  fail2ban \
  unattended-upgrades
Set timezone (optional):
# List available timezones
timedatectl list-timezones | grep America

# Set your timezone (example: Eastern Time)
sudo timedatectl set-timezone America/New_York

# Verify
timedatectl
Enable automatic security updates:
sudo dpkg-reconfigure -plow unattended-upgrades
# Select "Yes" when prompted
Install Azure CLI on the VM
Once connected to the VM, run the following:
# Update package list
sudo apt-get update

# Install Azure CLI
curl -sL https://aka.ms/InstallAzureCLIDeb | sudo bash
Verify installation and exit:
az --version
exit
Authenticate to Azure from the VM
Using Managed Identity
- Go to your VM: Virtual machines → homelab-vm
- Left menu → Security → Identity
- Under System assigned tab:
- Toggle Status to On
- Click Save → Click Yes to confirm
- Wait 30 seconds for it to enable
- Click Azure role assignments → Click + Add role assignment:
- Scope: Storage
- Subscription:
Azure Subscription 1 - Resource:
homelab1 - Role: Storage Blob Data Contributor
- Click Save
Back in your SSH session on the VM:
# Login using managed identity
az login --identity
Test Access to Blob Storage
# Set variables (replace with your actual values)
STORAGE_ACCOUNT="homelab1"
CONTAINER="homelab-container"

# List blobs in your container
az storage blob list \
    --account-name $STORAGE_ACCOUNT \
    --container-name $CONTAINER \
    --auth-mode login \
    --output table
Expected output:
Name      Blob Type    Length    Content Type
--------  -----------  --------  --------------
test.txt  BlockBlob    42        text/plain
Troubleshooting
az storage account show \
    --name homelab1 \
    --resource-group ResourceGroup1 \
    --query networkRuleSet \
    --output json
Azure + Tailscale
In the next writeup, I will explain how to configure Tailscale VPN for secure tunneling into your Azure VM.